Tips for Making Homemade Bread from Scratch
Baking bread at home is a rewarding experience that fills your kitchen with the comforting aroma of fresh bread and provides you with a delicious, homemade loaf. Whether you're a seasoned baker or a novice, making bread from scratch can be a fulfilling project. Here are some tips to help you achieve perfect homemade bread every time.


Choose the Right Ingredients
Flour Selection
- Overview: The type of flour you use will greatly impact the texture and flavor of your bread. Bread flour, with its higher protein content, is ideal for most loaves as it creates more gluten, leading to a chewier texture.
- Impact: All-purpose flour can also be used, but it will result in a slightly softer loaf. For a more rustic bread, whole wheat or rye flours can be added to the mix.
Yeast Basics
- Tips: Active dry yeast and instant yeast are the most common types used in bread-making. Instant yeast doesn’t need to be dissolved in water and can be mixed directly with flour, making it more convenient.
- Action: Always check the expiration date on your yeast. If you’re unsure if it’s still active, proof it in warm water with a pinch of sugar—if it bubbles, it’s good to go.
Water, Salt, and Sugar
- Overview: Water is crucial for activating the yeast and hydrating the flour. Salt adds flavor and controls yeast activity, while sugar (optional) feeds the yeast and can add sweetness to your bread.
- Impact: Use lukewarm water to ensure the yeast activates properly. Be mindful of the salt amount, as too much can slow yeast growth, while too little can result in bland bread.
Master the Mixing and Kneading
Mixing Technique
- Overview: Properly mixing your ingredients is the first step toward good gluten development, which gives bread its structure.
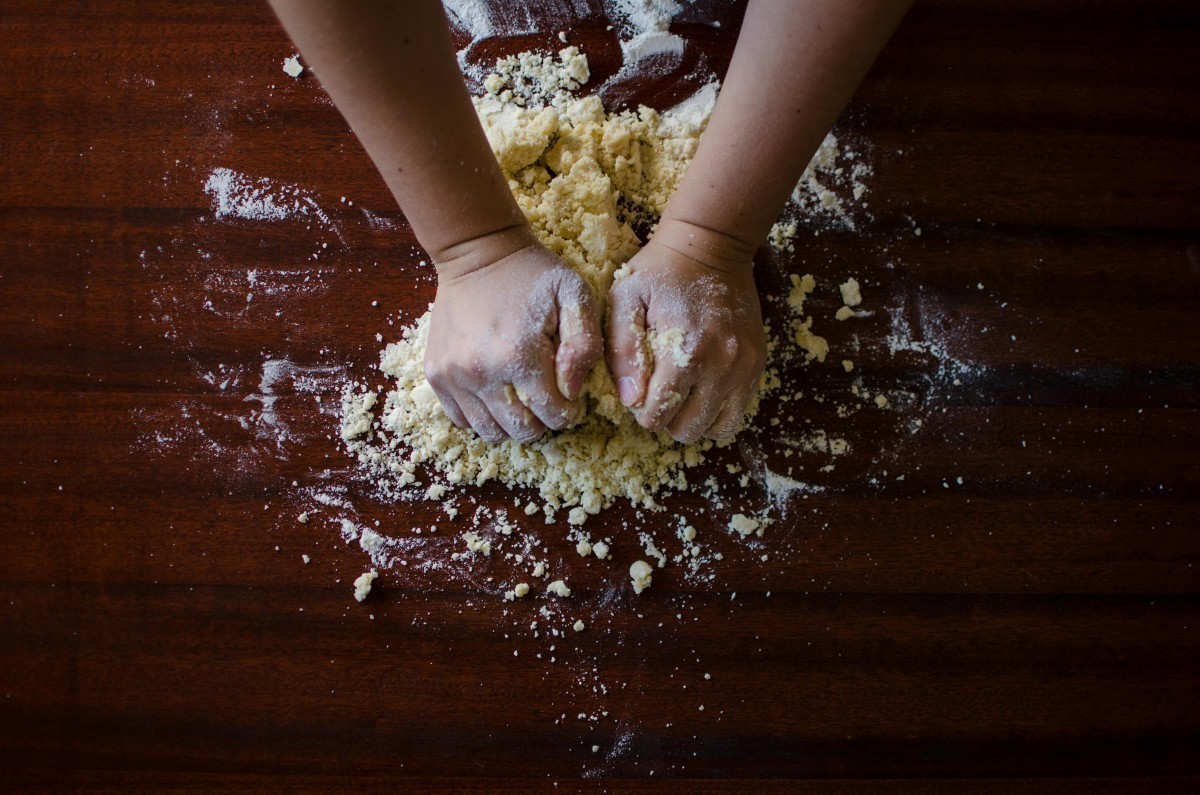
- Impact: Start by mixing flour, yeast, salt, and water until a shaggy dough forms. If using a mixer, use the dough hook on low speed.
Kneading Essentials
- Tips: Kneading is crucial for gluten development, which gives the bread its chewy texture. Knead by hand for about 10 minutes or until the dough is smooth and elastic.
- Action: If you’re using a stand mixer, knead the dough on low to medium speed for about 5–7 minutes. To test if the dough is ready, perform the “windowpane test”—stretch a small piece of dough thinly without it tearing. If it forms a translucent “window,” it’s ready.
Understand the Fermentation Process
The First Rise (Bulk Fermentation)
- Overview: After kneading, the dough needs time to rise, which allows the yeast to ferment the sugars in the flour, producing carbon dioxide that makes the dough expand.
- Impact: Place the dough in a lightly oiled bowl, cover it with a damp cloth or plastic wrap, and let it rise in a warm, draft-free area until it has doubled in size, usually about 1–2 hours.
Shaping the Dough
- Tips: After the first rise, gently deflate the dough and shape it into your desired form—whether it’s a loaf, a boule (round loaf), or rolls.
- Action: Be careful not to over-handle the dough, as this can deflate the air pockets created during the rise. Shape it firmly but gently, and place it in a greased loaf pan or on a baking sheet.
The Second Rise (Proofing)
- Overview: After shaping, the dough needs a second rise, known as proofing, to develop more flavor and texture.
- Impact: Let the shaped dough rise again until it’s puffy and almost doubled in size. This usually takes 30 minutes to an hour. Proofing time can vary depending on the temperature of your kitchen.
Perfecting the Bake
Preheating the Oven
- Overview: Preheating the oven is essential for a good rise and crust development. Set your oven to the appropriate temperature, usually between 375°F and 450°F, depending on the bread type.
- Impact: A properly preheated oven ensures the dough starts baking immediately, which helps set the structure and develop a good crust.
Using Steam for a Crusty Loaf
- Tips: Adding steam to the oven during the first few minutes of baking helps create a crisp, golden crust. You can do this by placing a pan of hot water on the oven floor or spritzing the oven walls with water right after placing the bread inside.
- Action: Be careful when handling hot water and steam. If you prefer a softer crust, you can skip this step or reduce the baking temperature slightly.
Checking for Doneness
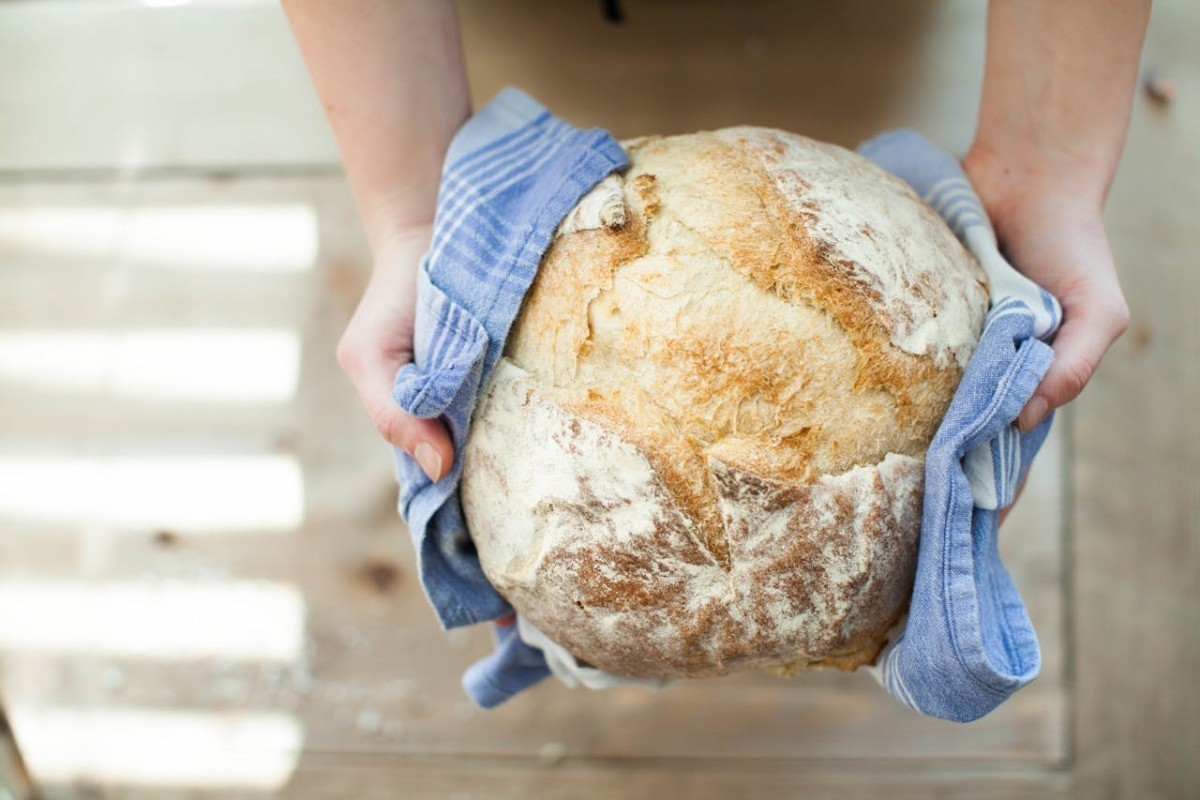
- Overview: Bread is done when it reaches an internal temperature of about 190°F to 210°F, depending on the type. The crust should be golden brown, and the loaf should sound hollow when tapped on the bottom.
- Impact: Using a kitchen thermometer is the most accurate way to check doneness. If you don’t have one, the hollow sound test is a good indicator.
Letting It Cool and Enjoying the Results
The Importance of Cooling
- Overview: It’s tempting to cut into fresh bread right out of the oven, but it’s important to let it cool first. Cooling allows the structure to set and finishes the cooking process.
- Impact: Cutting too soon can result in a gummy texture. Let the bread cool on a wire rack for at least 30 minutes to an hour before slicing.
Storing Homemade Bread
- Tips: Store bread in a paper bag or bread box at room temperature to maintain the crust’s texture. If you prefer a softer crust, you can store it in a plastic bag.
- Action: Homemade bread doesn’t contain preservatives, so it’s best enjoyed within a few days. You can freeze any extra bread by wrapping it tightly in plastic wrap and aluminum foil, then placing it in the freezer.


Making homemade bread from scratch is a delightful process that combines patience, skill, and a bit of experimentation. By choosing the right ingredients, mastering mixing and kneading techniques, understanding fermentation, and perfecting your bake, you’ll be well on your way to baking beautiful, delicious bread. Enjoy the process, and don’t be afraid to experiment with different recipes and techniques as you grow more confident in your bread-baking journey.


