The Ultimate Guide to Painting Your Home: Choosing Colors, Techniques, and Finishes
Painting your home can transform its entire look and feel, whether you're refreshing your space or preparing it for sale. It's a project that offers a lot of creative freedom but can also be daunting if you're unsure where to start. Fear not! This guide will walk you through everything from choosing the right colors to mastering painting techniques and selecting the perfect finishes.

Choosing the Right Colors
The first step in any painting project is selecting the colors that will adorn your walls. Here are some tips to guide you:
1. Assess Your Space: Consider the size and lighting of the room. Light colors can make a room feel larger and brighter, while darker shades can add coziness but might make a small room feel cramped.
2. Create a Mood: Colors can influence mood and atmosphere. Blues and greens are calming, yellows are energizing, and neutrals are versatile and timeless.
3. Test Samples: Always test paint samples on your walls before committing. Paint can look different under various lighting conditions throughout the day.
4. Coordinate with Décor: Consider your existing furniture and décor. Choose colors that complement or contrast in a pleasing way.
5. Think Long-Term: If you plan to sell your home soon, neutral tones appeal to a broader range of buyers. Personalize with accents rather than bold walls.
Essential Tools and Preparation
Before you dip your brush into paint, make sure you have the right tools and prepare your space properly:
1. Tools of the Trade: Invest in high-quality brushes, rollers, painter's tape, drop cloths, and trays. Quality tools make a noticeable difference in the final result.
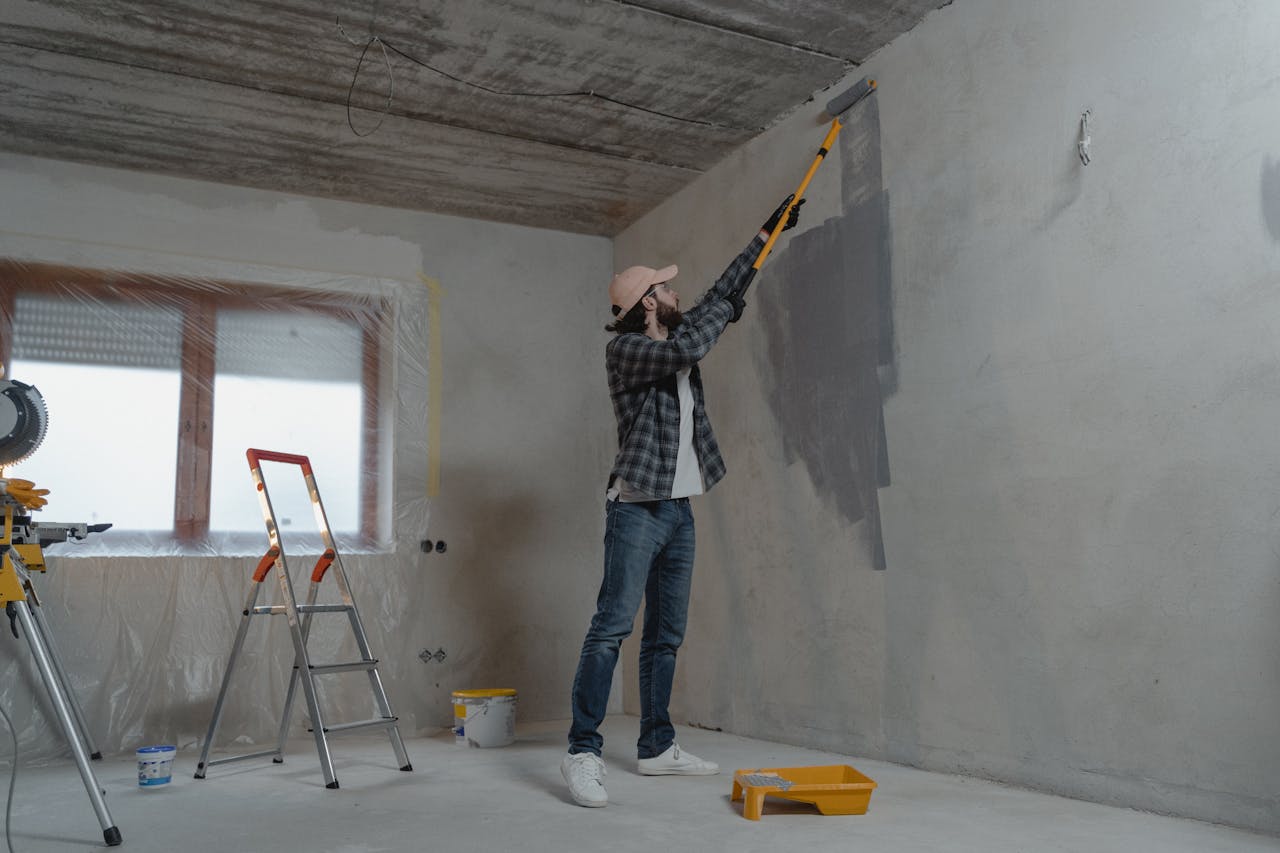
2. Prepare the Room: Remove furniture or cover it with plastic sheets. Clean walls thoroughly to ensure paint adheres well. Fill holes and sand rough patches for a smooth finish.
3. Use Painter's Tape: Apply painter's tape along edges and trim to achieve clean lines. Press down firmly and remove it carefully after the paint dries to avoid peeling.
4. Prime if Necessary: If you're painting over a dark color or repairing damaged walls, a coat of primer ensures better coverage and adhesion of the new paint.
Mastering Painting Techniques
Even if you're a novice, these techniques will help you achieve professional-looking results:
1. Cut In First: Start by "cutting in" — using a brush to create a straight edge where walls meet ceilings, corners, and trim. This allows for easier rolling later.
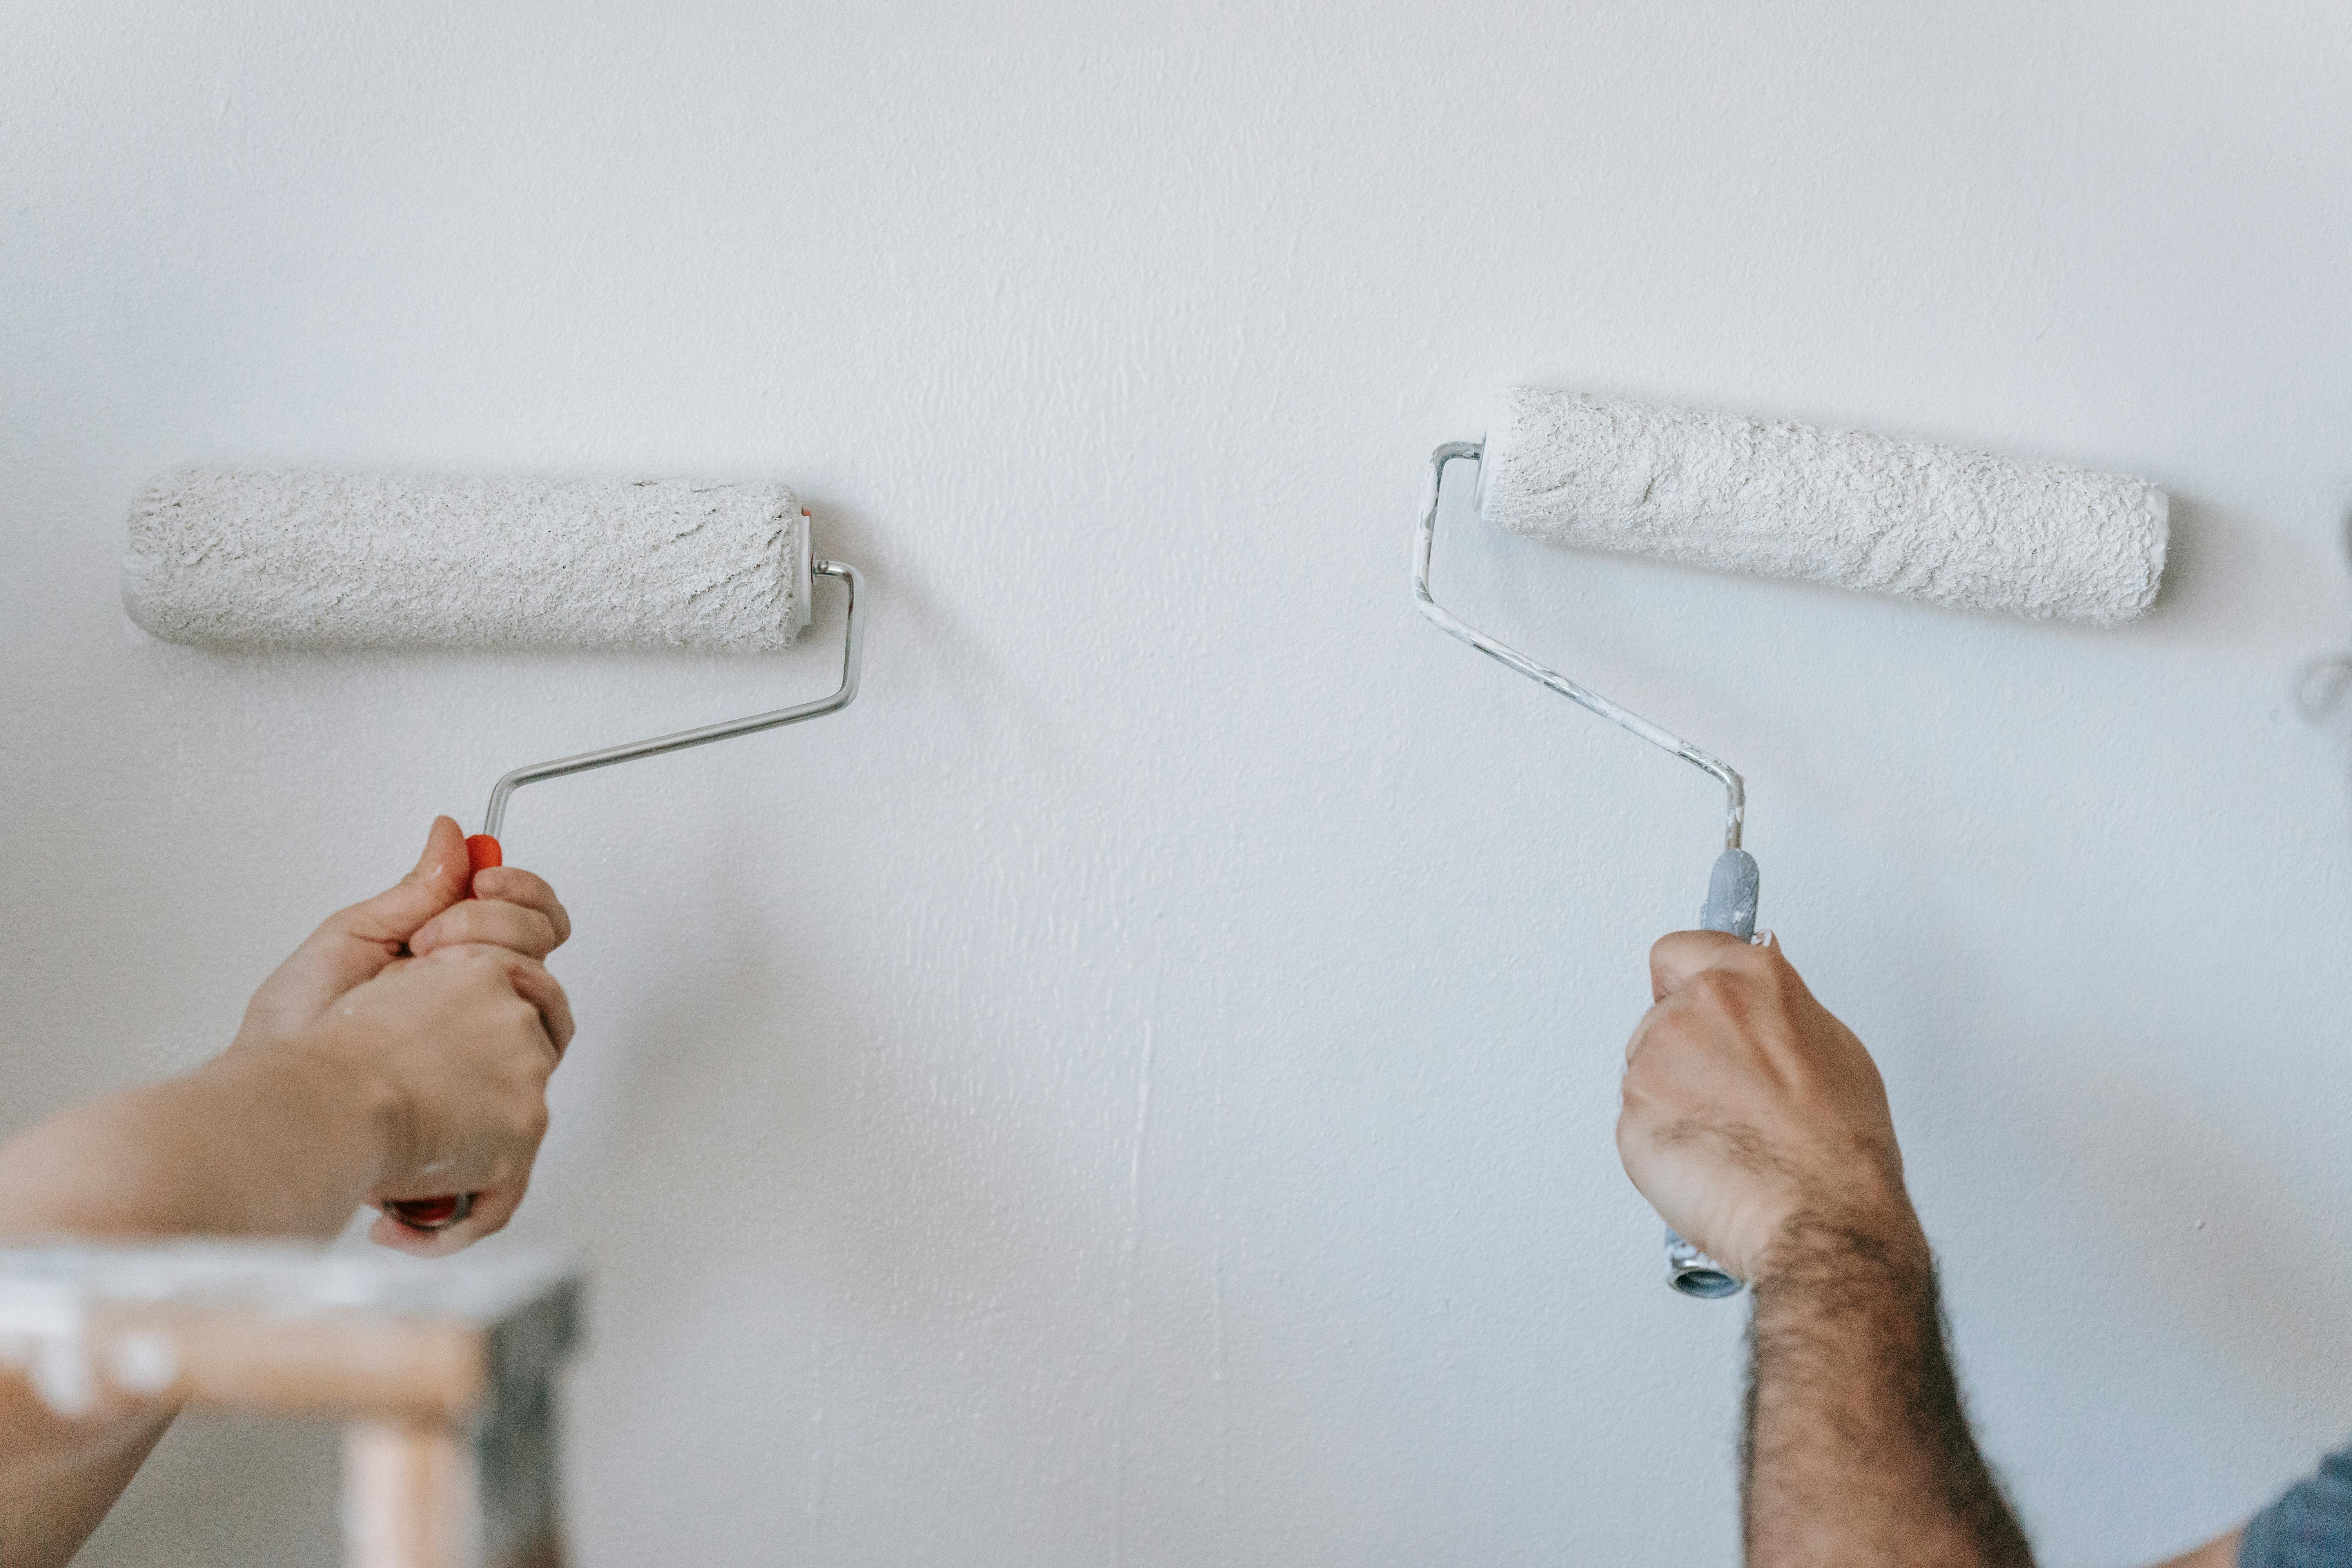
2. Roll Strategically: Use a roller for large, flat surfaces. Roll in overlapping W or M-shaped strokes to distribute paint evenly and avoid visible roller marks.
3. Work in Sections: Divide the wall into manageable sections to maintain a wet edge. This prevents visible seams where paint overlaps as it dries.
4. Blend Edges: After rolling, lightly feather the edges with a dry brush to blend any overlapping areas seamlessly.
5. Allow for Drying Time: Follow manufacturer's instructions for drying times between coats. Rushing can lead to uneven coverage and a less durable finish.
Choosing the Right Finishes
The finish of your paint affects both aesthetics and practicality:
1. Flat/Matte: Offers a smooth finish that hides imperfections but may not be as washable. Ideal for low-traffic areas like bedrooms.
2. Eggshell/Satin: Slight sheen that's durable and easy to clean. Suitable for living rooms, dining rooms, and hallways.
3. Semi-Gloss: Glossier finish that reflects light and is highly washable. Great for kitchens, bathrooms, and trim.
4. High-Gloss: Reflective and very durable, perfect for doors, cabinets, and accents. However, it can highlight imperfections.
5. Consider Your Lifestyle: Choose finishes that align with your lifestyle and maintenance preferences. High-gloss is great for easy cleaning but may not suit a rustic aesthetic.
Final Touches and Clean-Up
As you near the end of your project, take care of these final details:
1. Remove Painter's Tape: Peel off painter's tape at a 45-degree angle while the paint is still slightly tacky to achieve clean lines.
2. Touch-Up as Needed: Inspect the walls for any missed spots or imperfections. Touch up with a brush as necessary.
3. Proper Disposal: Dispose of paint and materials responsibly according to local regulations. Leftover paint can often be donated or recycled.
4. Enjoy Your New Space: Once everything is dry and cleaned up, step back and admire your handiwork. Your freshly painted home is ready to be enjoyed!
Painting your home is a rewarding DIY project that can enhance your living space and add value to your property. By choosing the right colors, mastering techniques, and selecting appropriate finishes, you'll achieve professional-quality results while expressing your personal style. So, grab your brushes and paint with confidence — your dream home awaits!