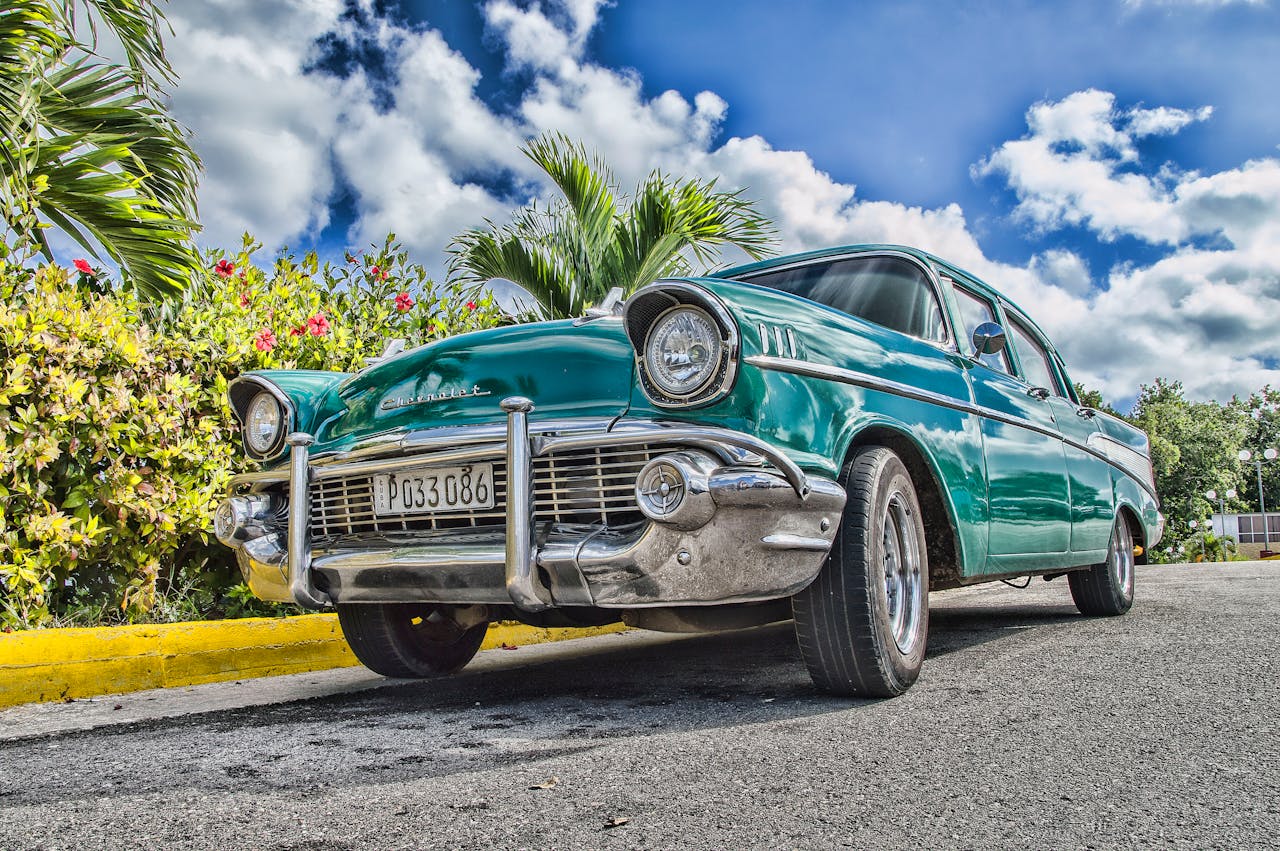
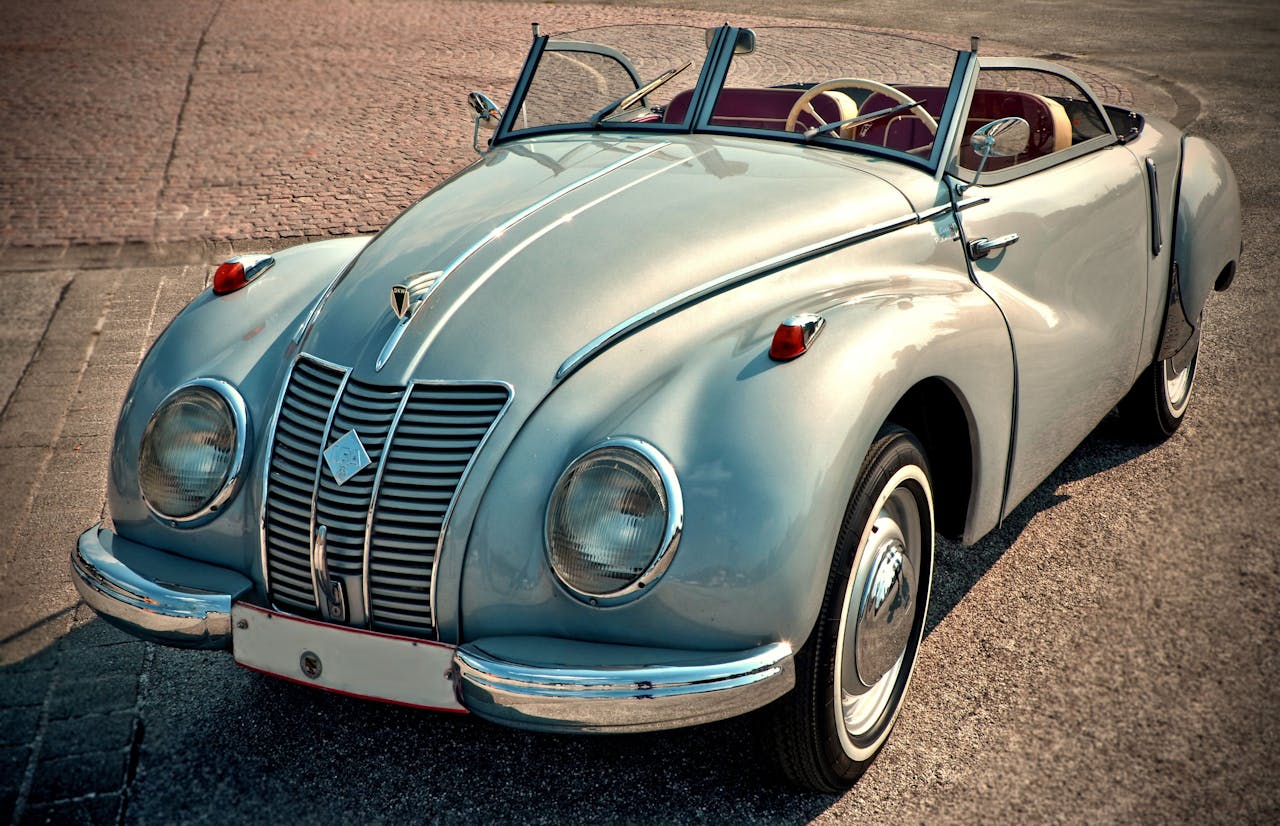
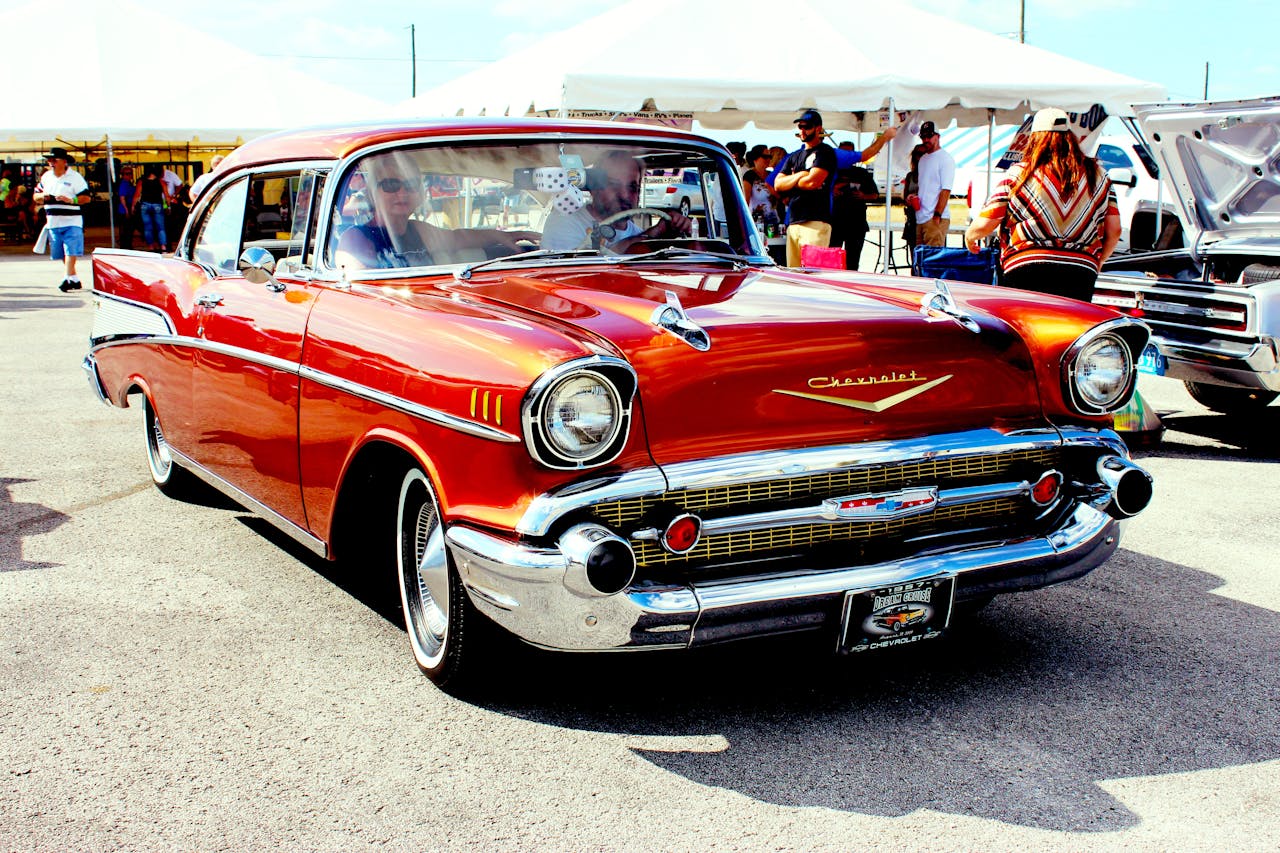
DIY Car Restoration Projects: Restoring Vintage Cars and Bringing Them Back to Life
Restoring a vintage car can be an incredibly rewarding project that combines craftsmanship, creativity, and a deep appreciation for automotive history. Whether you’re an experienced mechanic or a complete novice, taking on a DIY car restoration project offers a unique opportunity to breathe new life into a classic vehicle while honing your skills along the way. In this guide, we'll explore the essentials of vintage car restoration, from choosing the right project car to tips for each phase of the restoration process.
Choosing the Right Vintage Car
Finding Your Dream Project
The first step in any restoration project is selecting the right car. Consider the following factors when choosing a vintage vehicle to restore:
-
Personal Connection: Look for a model that resonates with you personally. It could be a car you admired in your youth or one that holds family significance.
-
Availability of Parts: Ensure that replacement parts are readily available for the model you choose. Some classic cars have a vibrant aftermarket community that can help source rare components.
-
Condition: Assess the condition of the vehicle. While a complete rust bucket might seem appealing, starting with a car that has a solid foundation can save you time and money. Look for minimal rust and intact frame structure.
-
Budget: Set a realistic budget. Factor in the cost of the car, parts, tools, and any professional help you might need. Vintage cars can vary significantly in price, so do your research.
Planning Your Restoration
Developing a Roadmap for Success
Once you've selected your project car, it’s crucial to create a restoration plan. Consider these steps:
-
Set Goals: Determine what you want to achieve with the restoration. Do you want a fully restored show car, or is your goal to create a reliable daily driver? This will help guide your decisions throughout the process.
-
Create a Timeline: Estimate how long each phase of the restoration will take. Be realistic about your time commitments, especially if you’re working on this project alongside a full-time job.
-
Document Everything: Keep detailed records of your progress, including photos and notes on parts purchased, repairs made, and challenges faced. This documentation can be invaluable for future projects and can also enhance the car's value.
Disassembly: Taking It Apart
The Art of Dismantling
The disassembly phase is crucial in understanding your car's current condition. Here’s how to tackle it:
-
Label and Organize: As you disassemble the car, label every part and fastener. Use labeled bags or containers to store small parts, making it easier to locate them during reassembly.
-
Take Photos: Document the disassembly process with photos. This will serve as a reference when it's time to put everything back together.
-
Inspect Each Component: Look for wear and tear on parts such as the engine, transmission, suspension, and brakes. Identify what needs to be repaired, refurbished, or replaced.
Restoration Techniques
Reviving Each Component
Now comes the fun part: restoring the car's components. Here are key areas to focus on:
-
Engine and Transmission: Assess the engine’s condition. You may need to rebuild or replace it, depending on the extent of the damage. Check gaskets, seals, and bearings, and ensure the transmission is functioning properly.
-
Bodywork and Paint: Rust repair and bodywork can be labor-intensive. You may need to use filler for dents and scratches and then sand and prep the surfaces for painting. Choose a high-quality paint that fits the car's era and style.
-
Interior Restoration: Focus on the upholstery, dashboard, and flooring. Consider reupholstering seats or replacing worn carpet. Pay attention to details like the steering wheel and knobs, which can enhance the vintage feel.
-
Electrical Systems: Check the wiring, lights, and gauges. Old electrical systems can be tricky, so replacing wiring harnesses may be necessary to ensure safety and reliability.
Reassembly: Putting It All Back Together
The Moment of Truth
With each component restored, it’s time to reassemble the car. Follow these tips:
-
Work Methodically: Refer back to your photos and labels to ensure each part goes back in the correct place. Patience is key—don’t rush this step.
-
Test Systems: Before fully reassembling the car, test the electrical and mechanical systems to ensure everything functions as it should. This can save you from future headaches.
Final Touches and Enjoyment
Bringing Your Vision to Life
Once reassembly is complete, you can add the final touches:
-
Detailing: Clean and detail the car thoroughly. A good wash, wax, and interior clean can make a world of difference.
-
Take a Test Drive: After ensuring everything is in working order, take the car for a test drive. This is the moment you’ve been waiting for! Pay attention to how it drives and note any adjustments that may be needed.
-
Share Your Journey: Consider documenting your restoration journey through a blog or social media. Sharing your progress can connect you with other car enthusiasts and inspire others to take on similar projects.
The Joy of Restoration
Restoring a vintage car is a journey filled with challenges, learning experiences, and ultimately, satisfaction. Each project offers an opportunity to connect with automotive history and create a unique piece of art that reflects your personality. Whether you’re restoring a classic Mustang, a charming Beetle, or a timeless Chevy, the skills and memories gained along the way make every effort worthwhile. So grab your tools, roll up your sleeves, and embark on your DIY car restoration adventure—your vintage dream car awaits!